WordPress is a content management system (CMS) that allows you to create and build your website. WordPress contains plugin architecture and a template system, so you can customize any website to fit your business, blog, portfolio, or online store.
Your NodexHost Web Hosting product includes Softaculous, an auto-installer for cPanel to help you install software - including WordPress. You can also install WordPress straight from your services panel.
Installing WordPress onto your domain via WordPress Manager
Note: Please ensure that you have followed the guide on pointing your domain to your Web Hosting service before proceeding.
Step 1) Navigate to your Web Hosting services cPanel®.
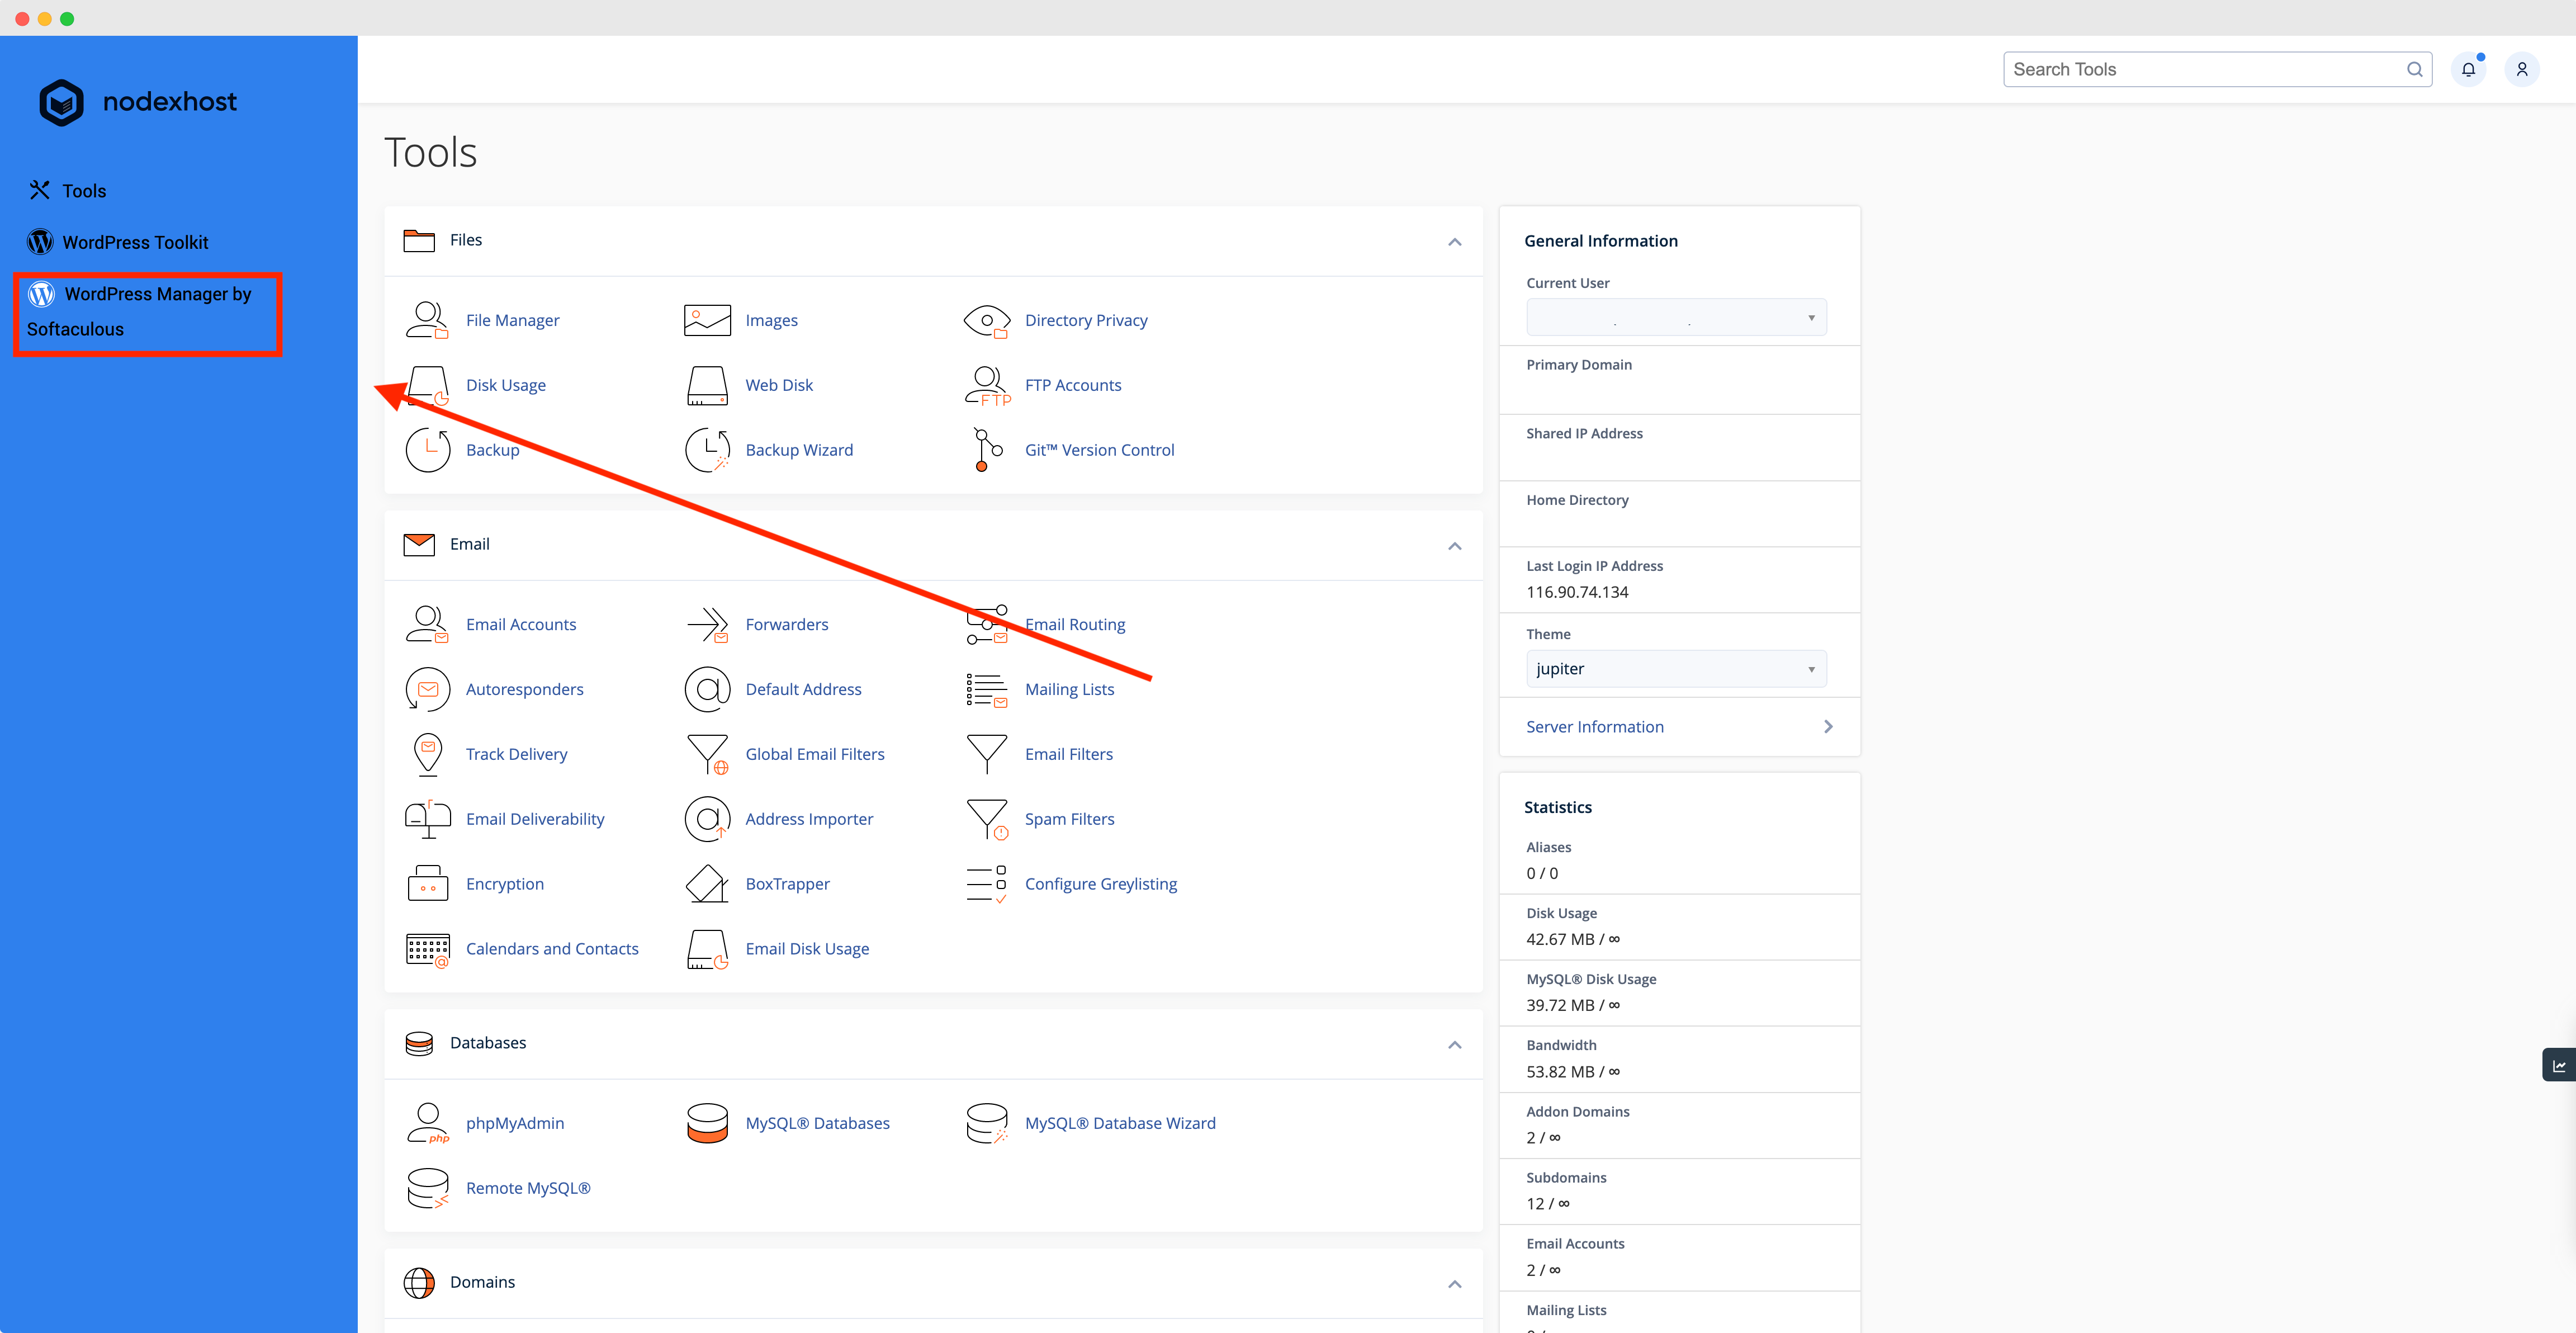
Step 2) Click on the "NodexHost WordPress Manager" button on the sidebar.
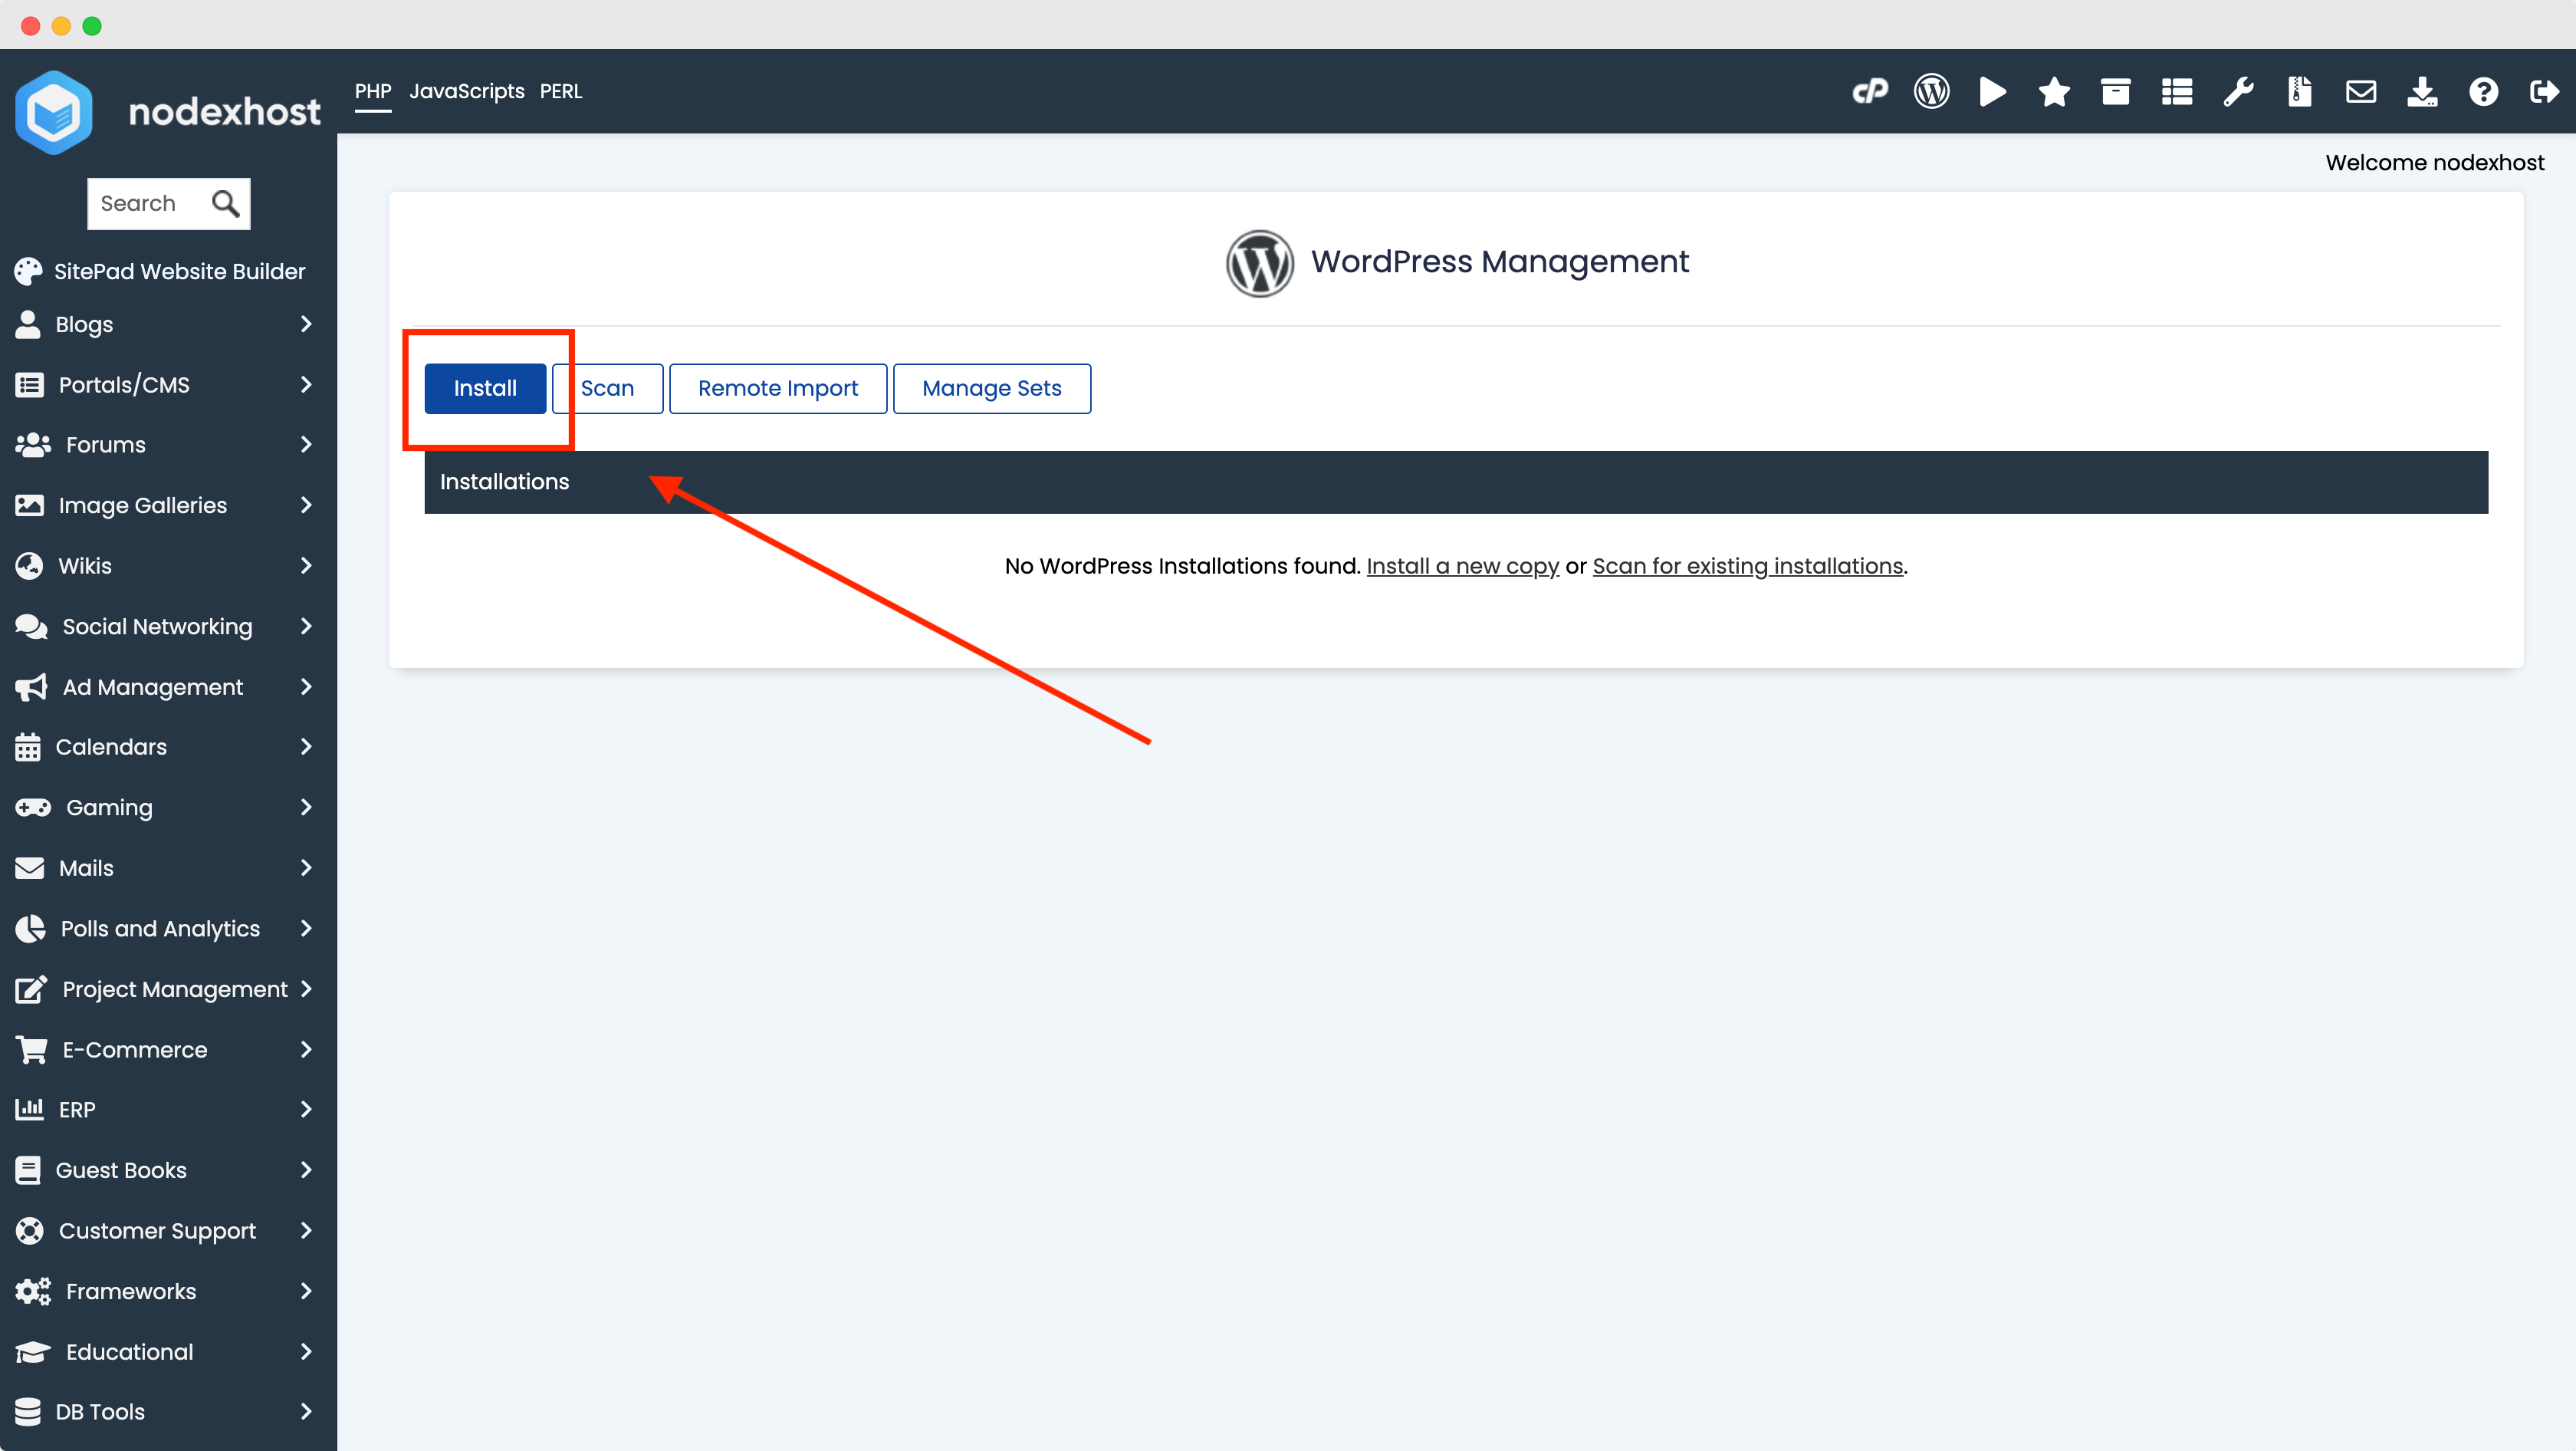
Step 3) Click on the Install button
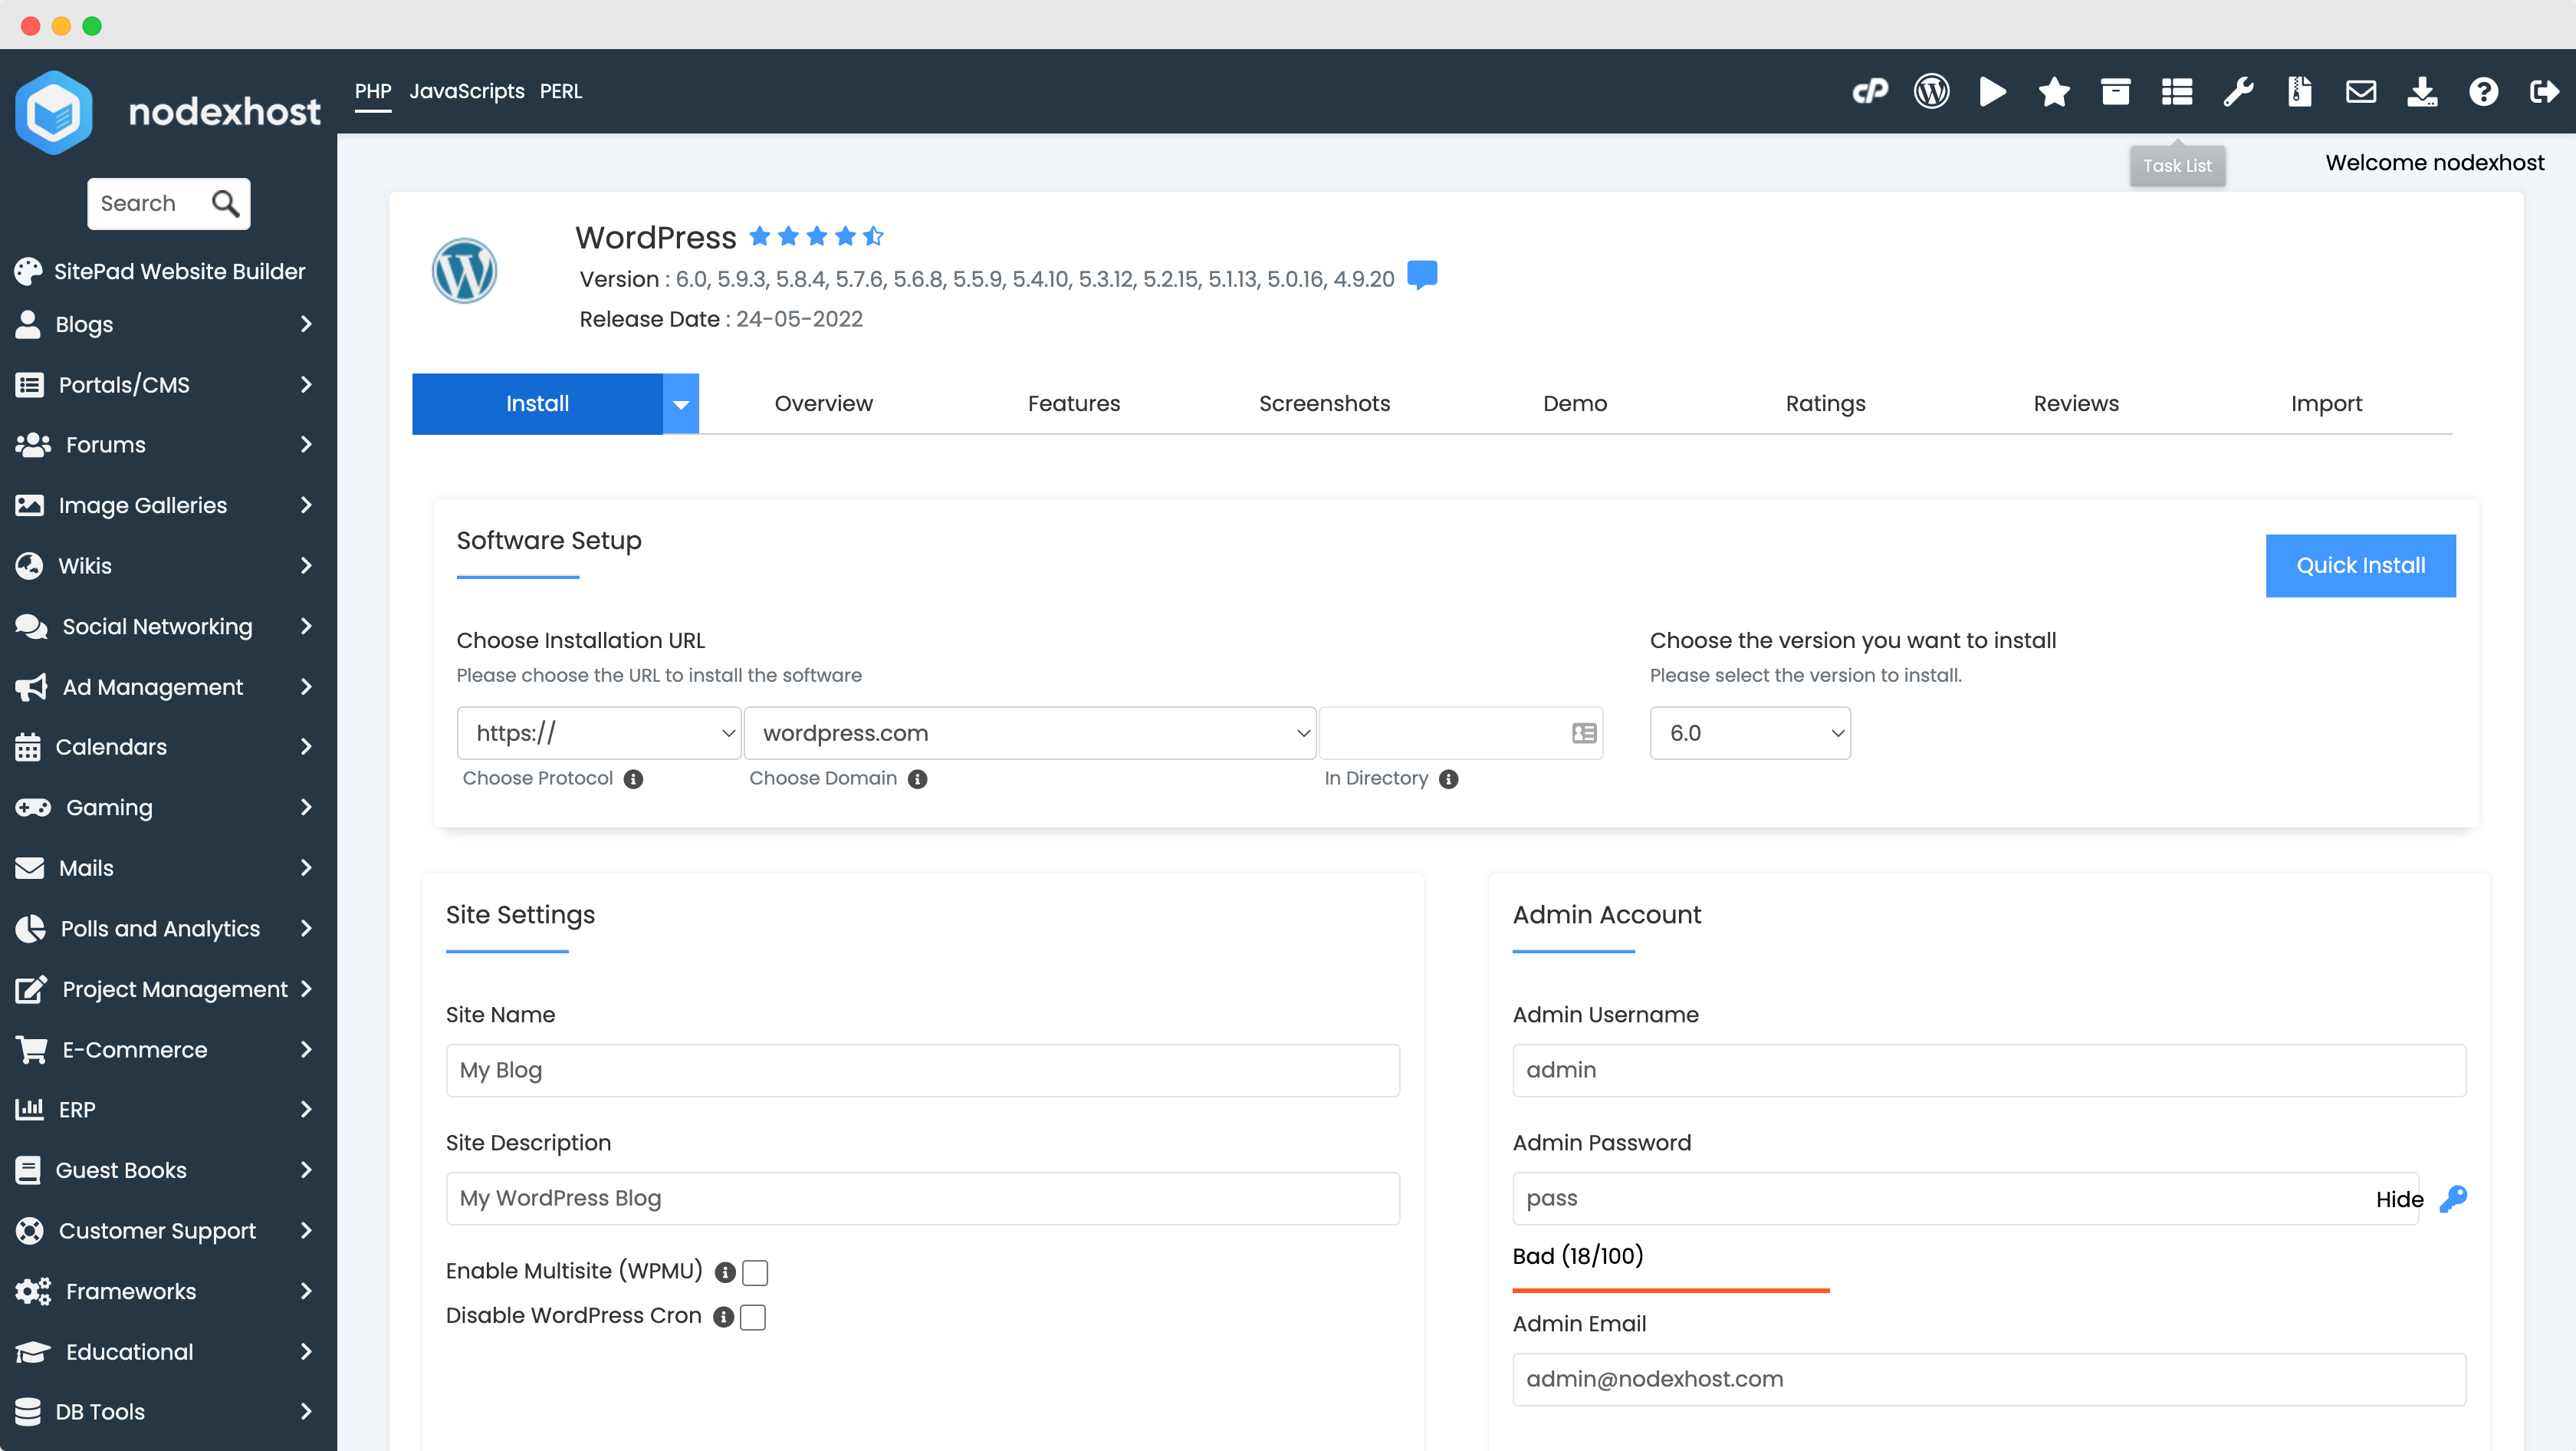
Step 4) Input your installation information. Ensure that you leave the "In Directory" box blank if you are wanting WordPress installed on your primary domain.
Note: Please ensure you memorise your installation's login information before you continue!
Step 5) Click on Install at the bottom of the page and wait for installation to complete. This should take no longer than 1 minute.
Step 6) You will be presented with a one-click login link to view your new installation.
Congratulations on installing WordPress!
Installing WordPress onto your domain via the billing panel
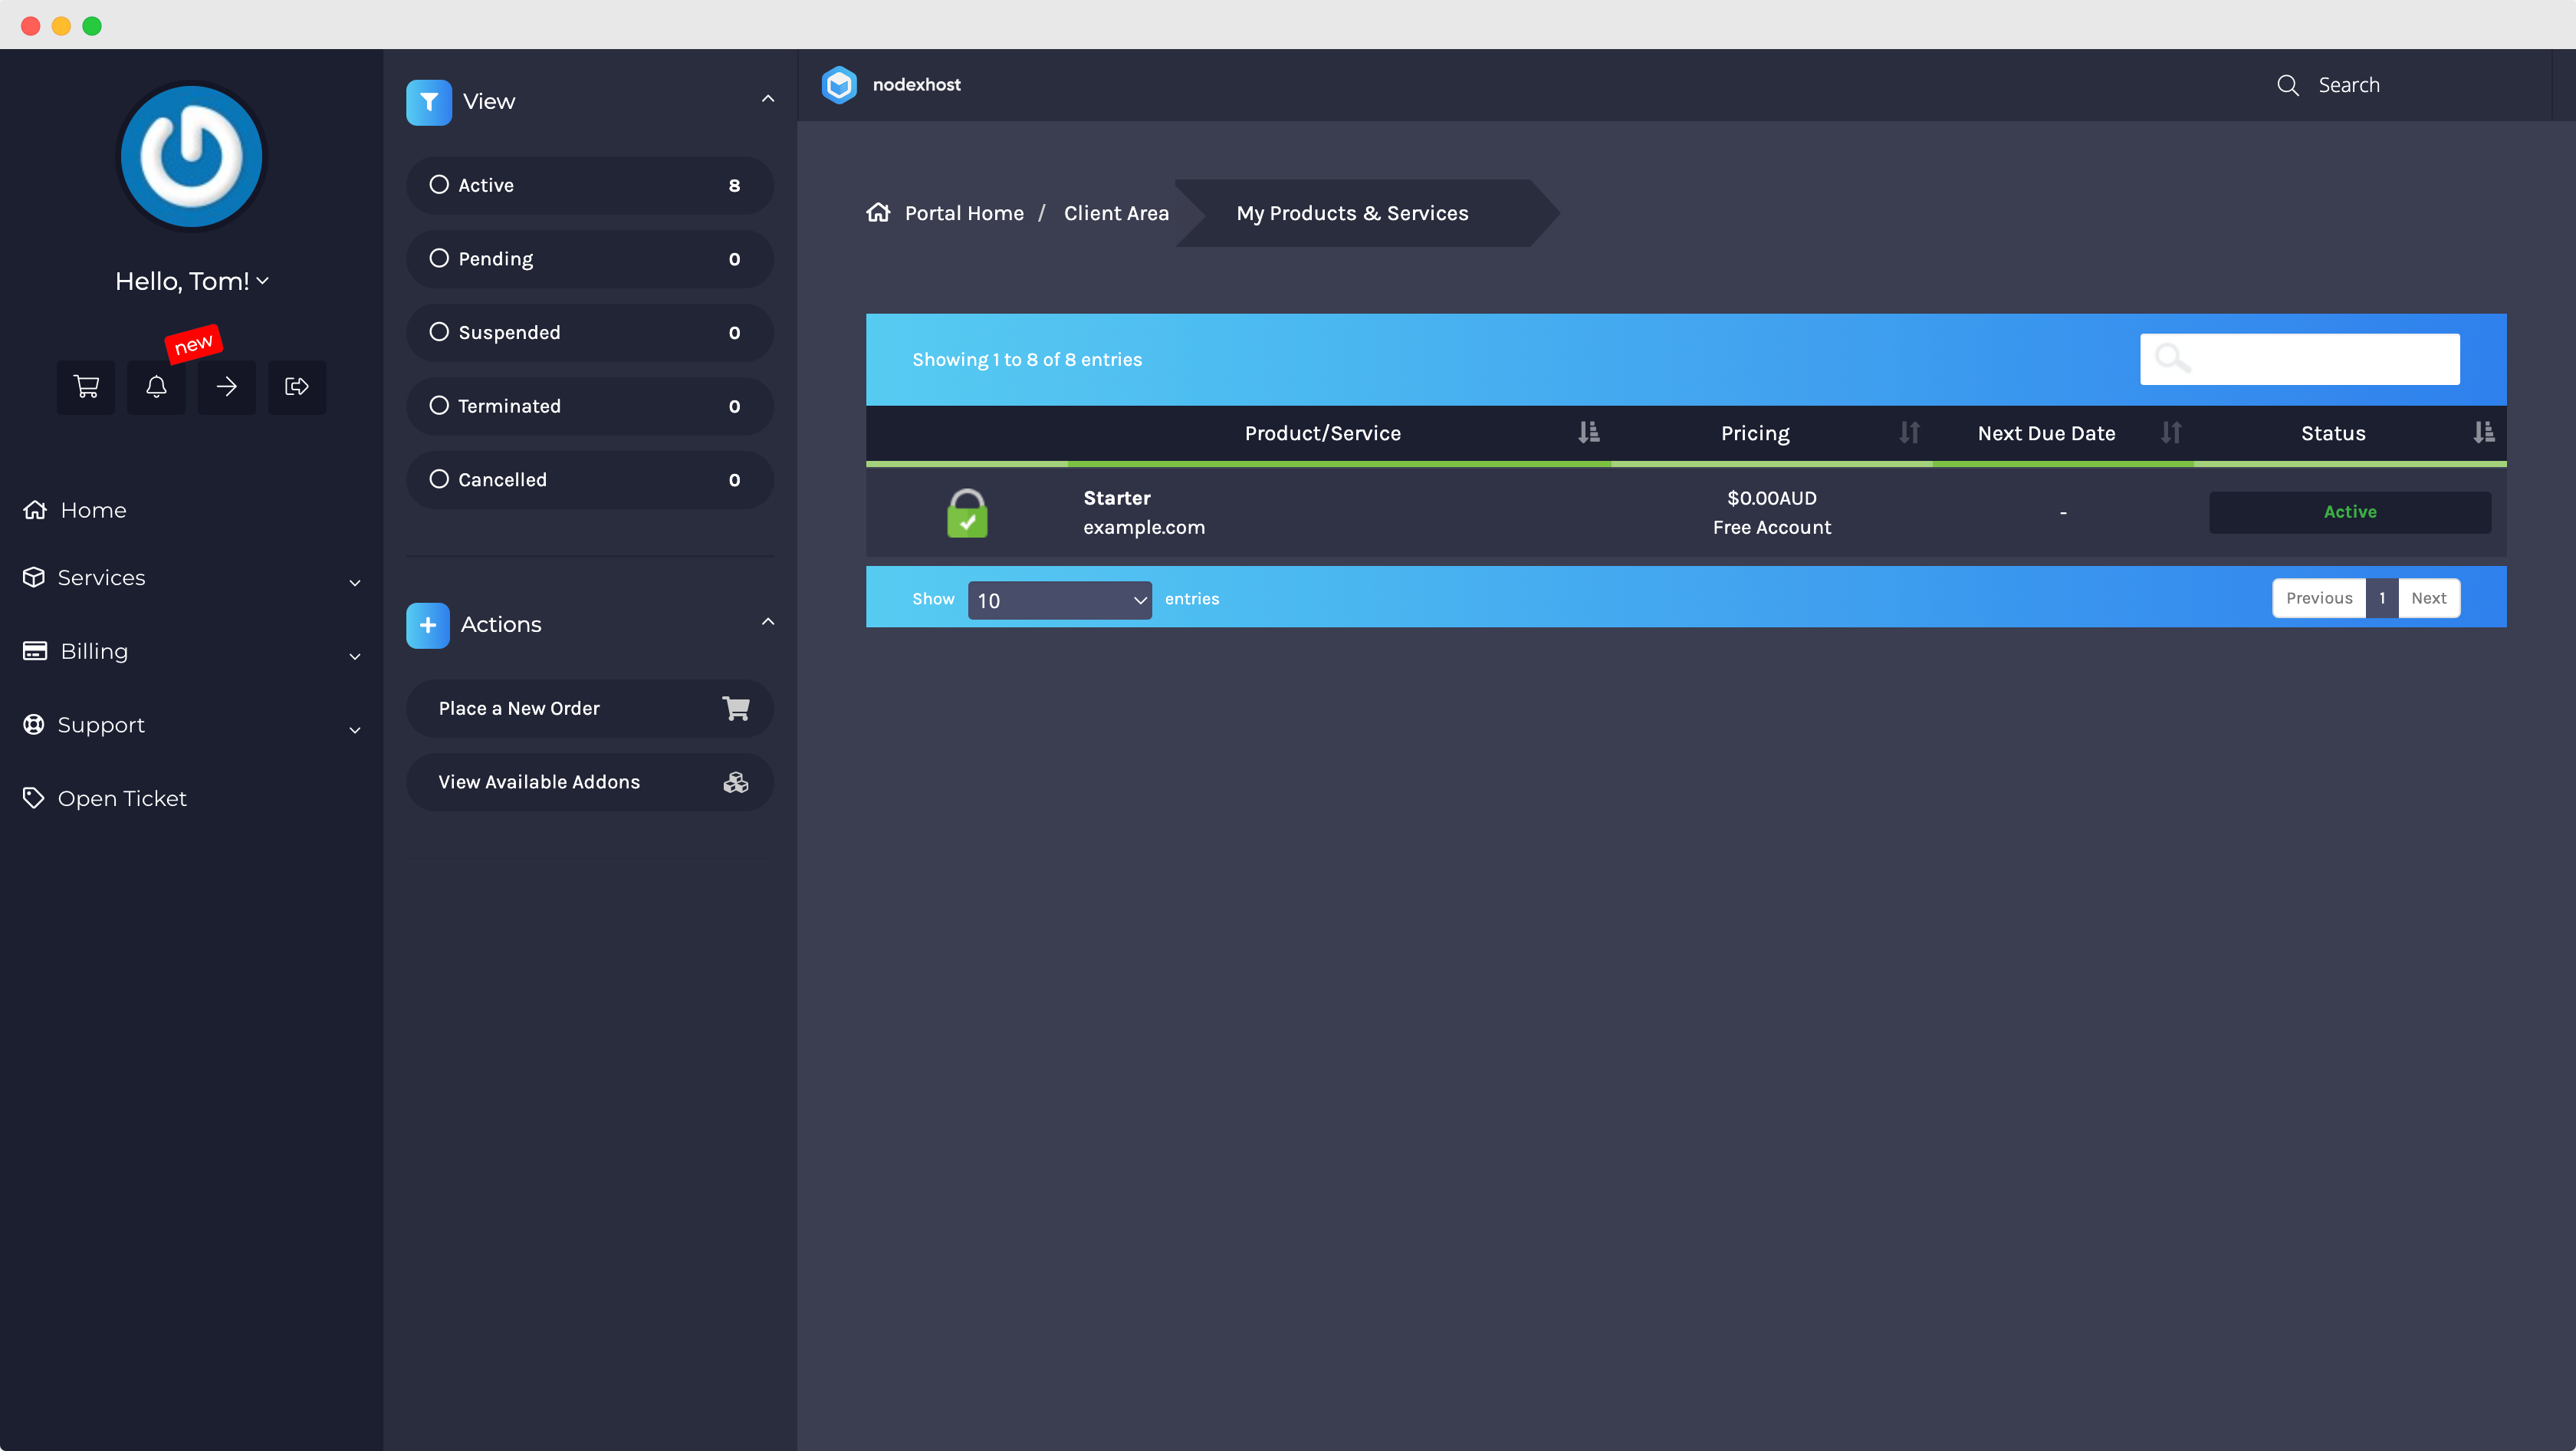
Step 1) Login to your billing panel and navigate to the service you would like to install WordPress on.
Step 2) Scroll down to the WordPress section.
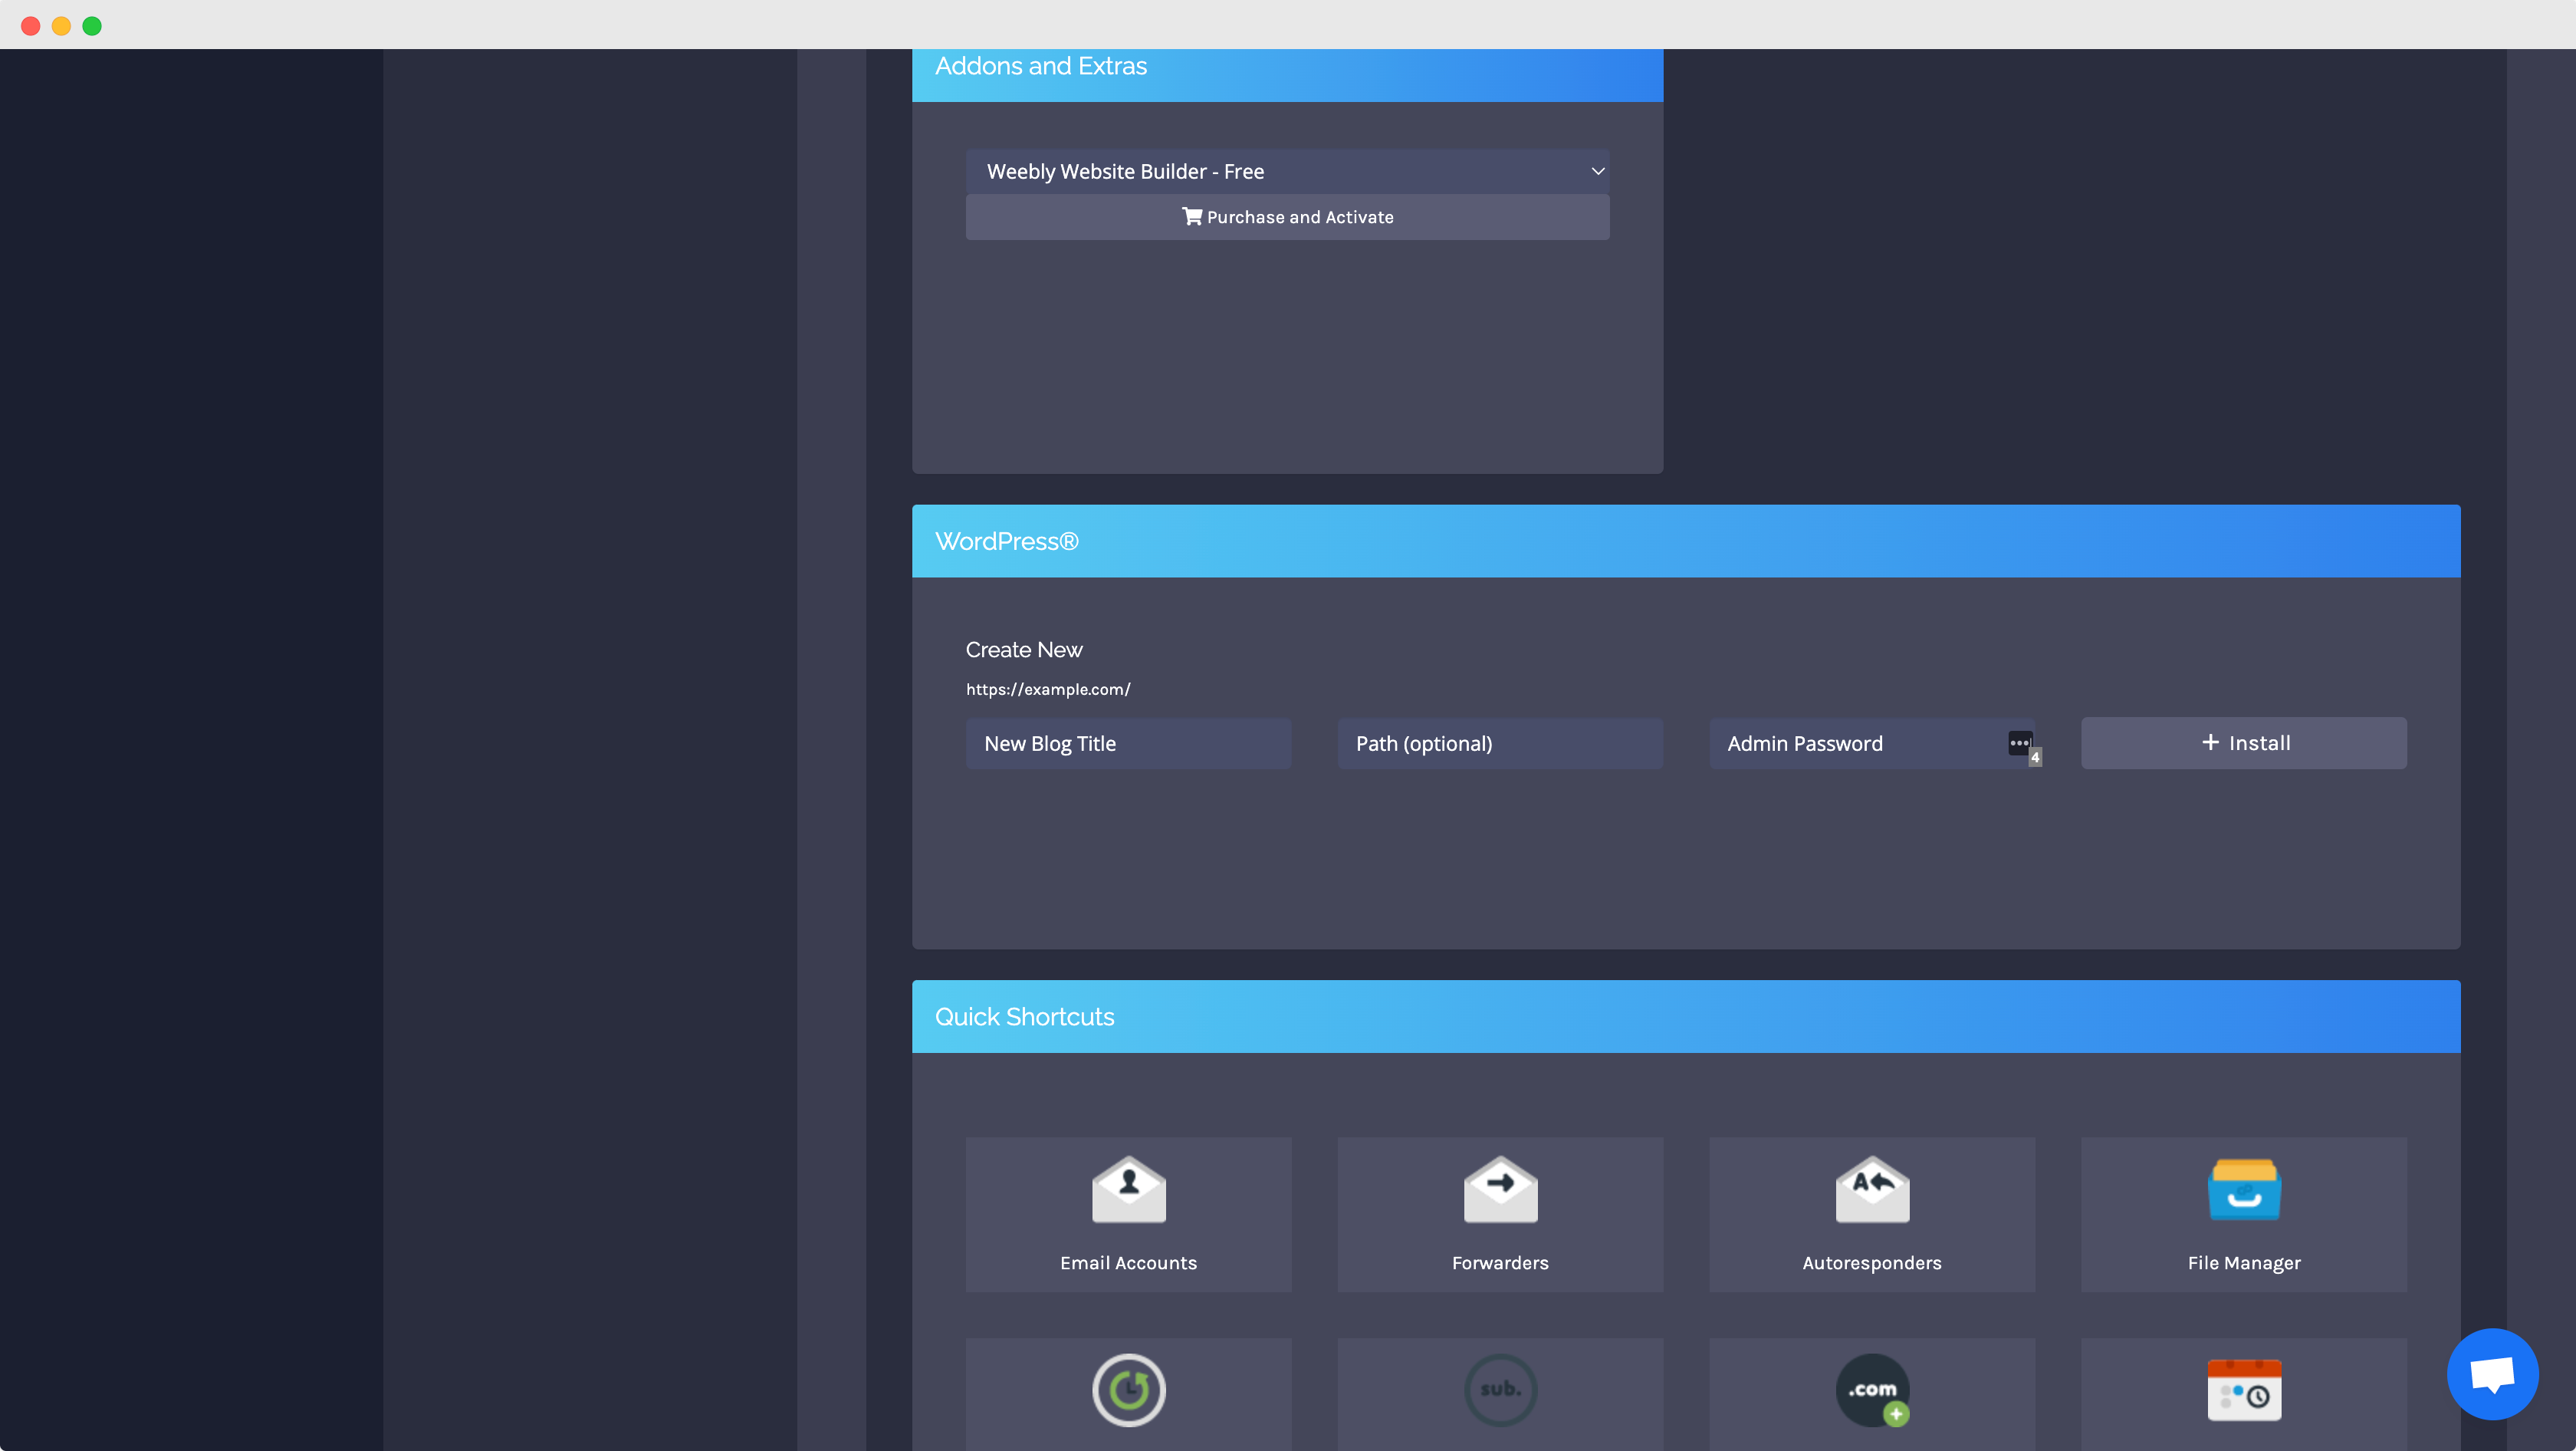
Step 3) Enter your title, path (directory you would like WordPress installed in, leave this blank to install WordPress on your root domain) and an administrator password.
Step 4) Click Install.
Congratulations on installing WordPress!

